
Last updated September 22, 2026
Full 25-point door and opener safety check with every visit - springs, cables, rollers, tracks, and your LiftMaster or Chamberlain opener included
You get a price before we start. It does not change when the truck arrives.
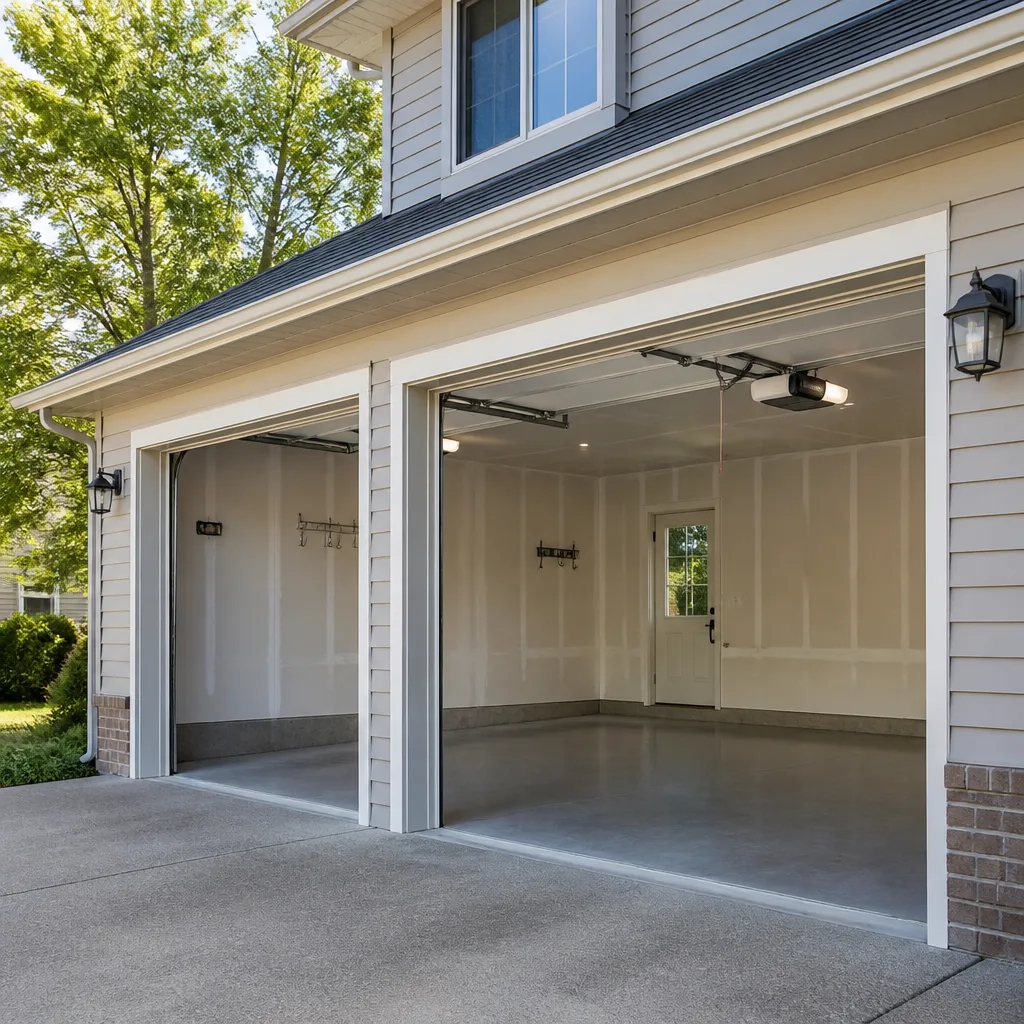
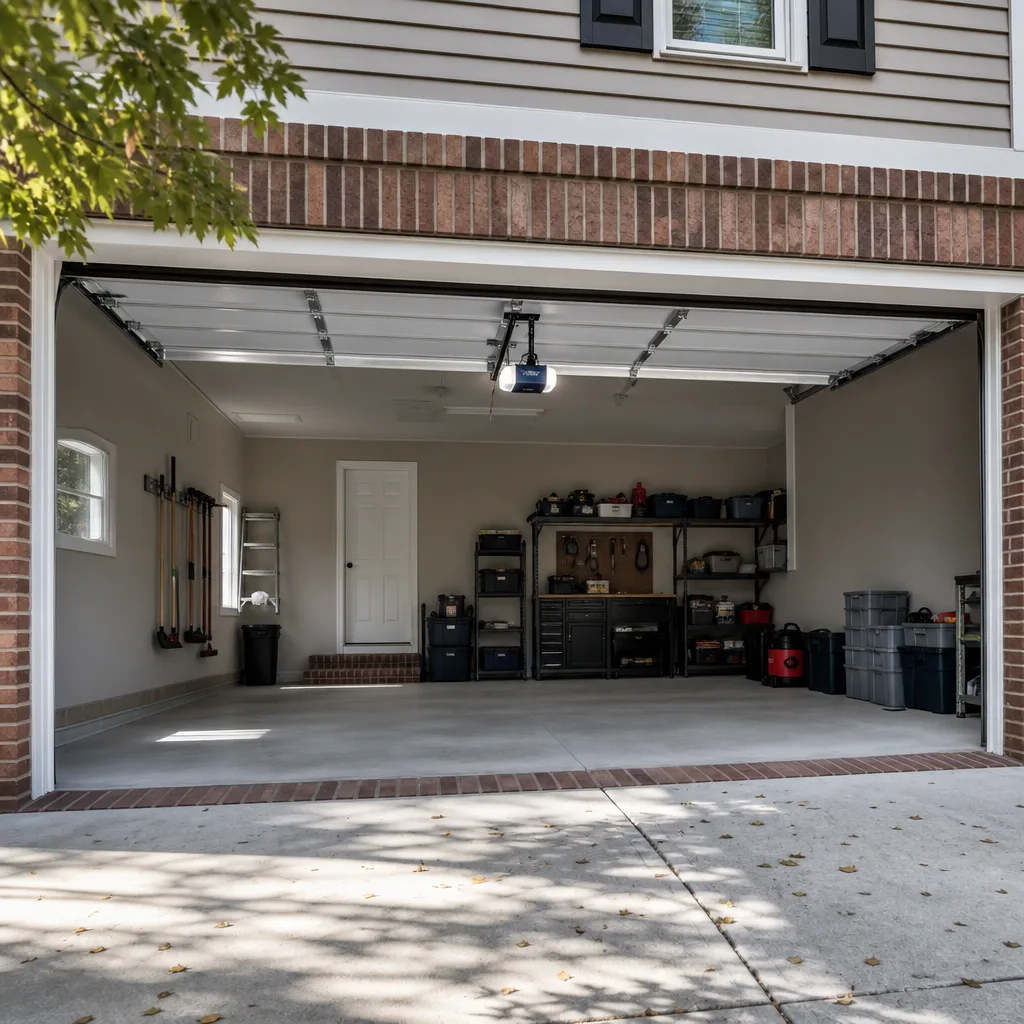
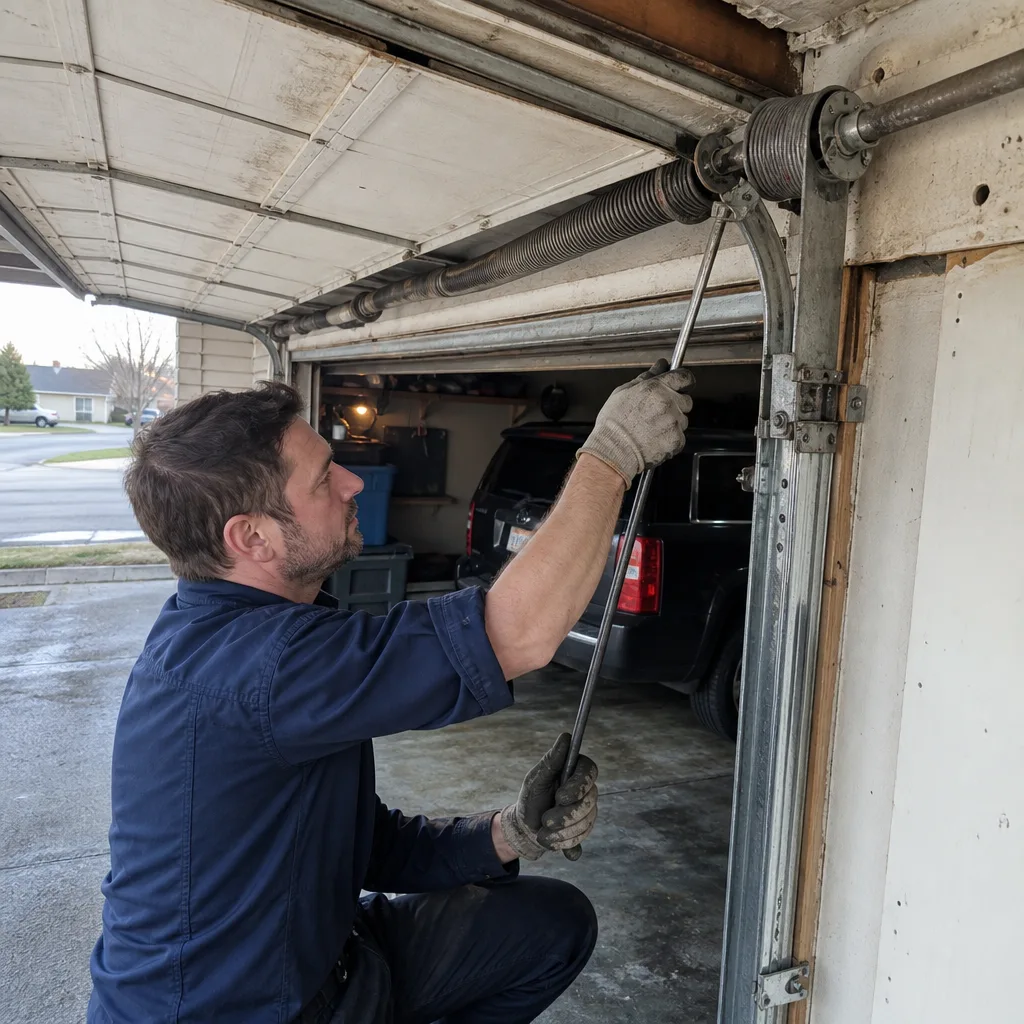 Before
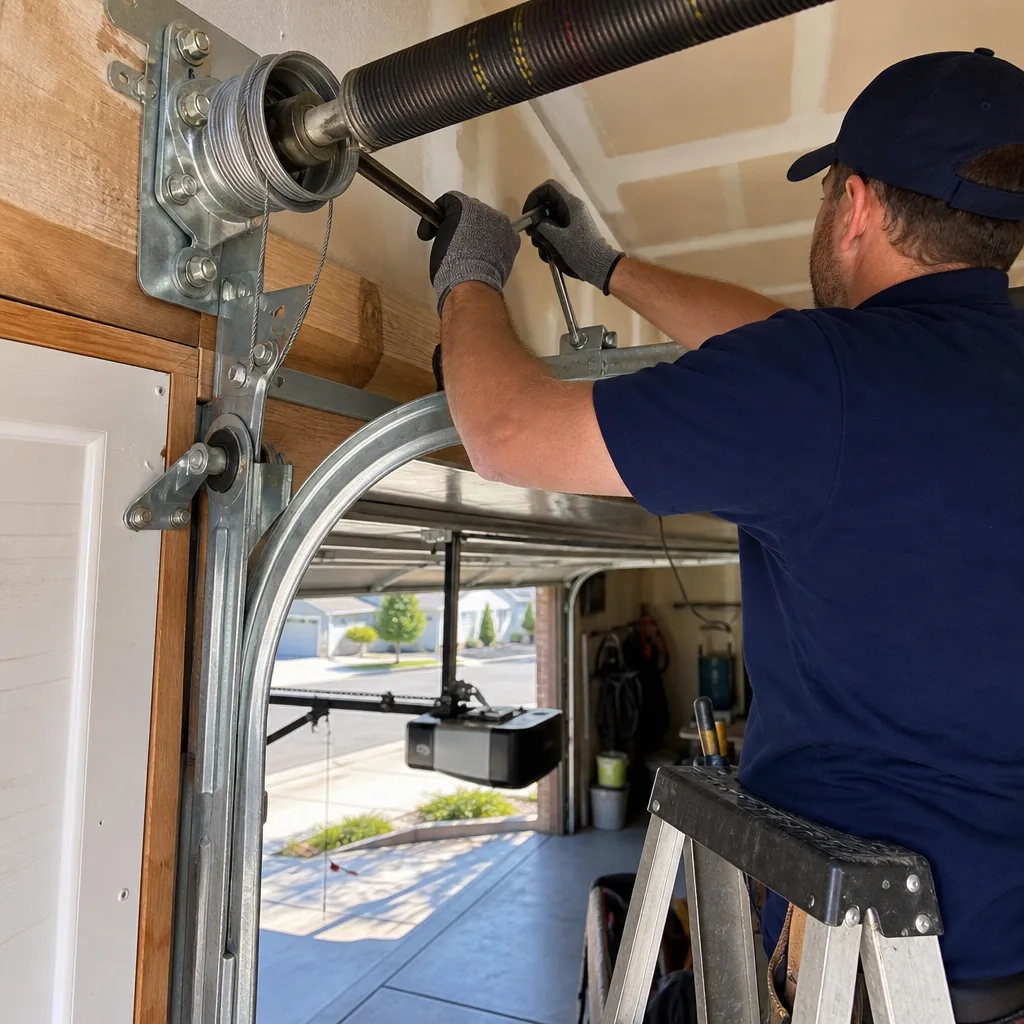 After
After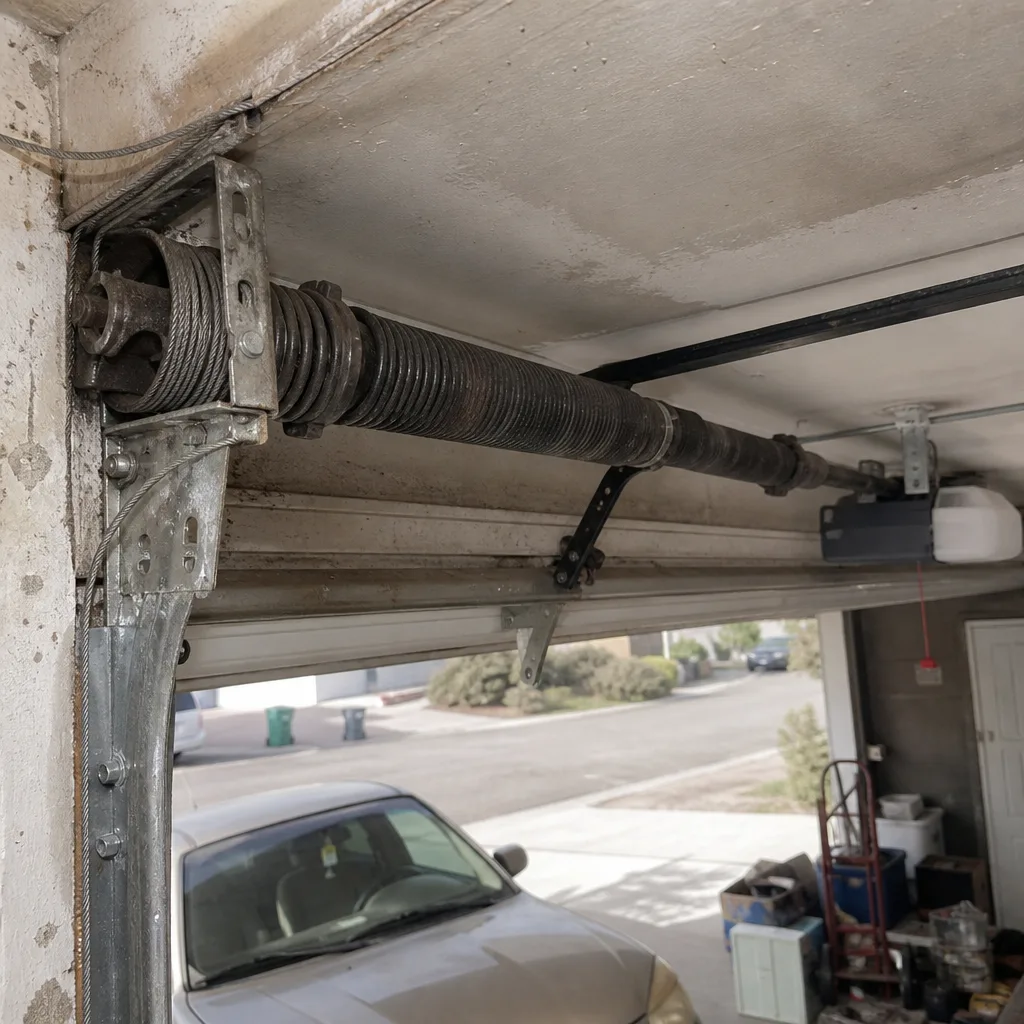 Before
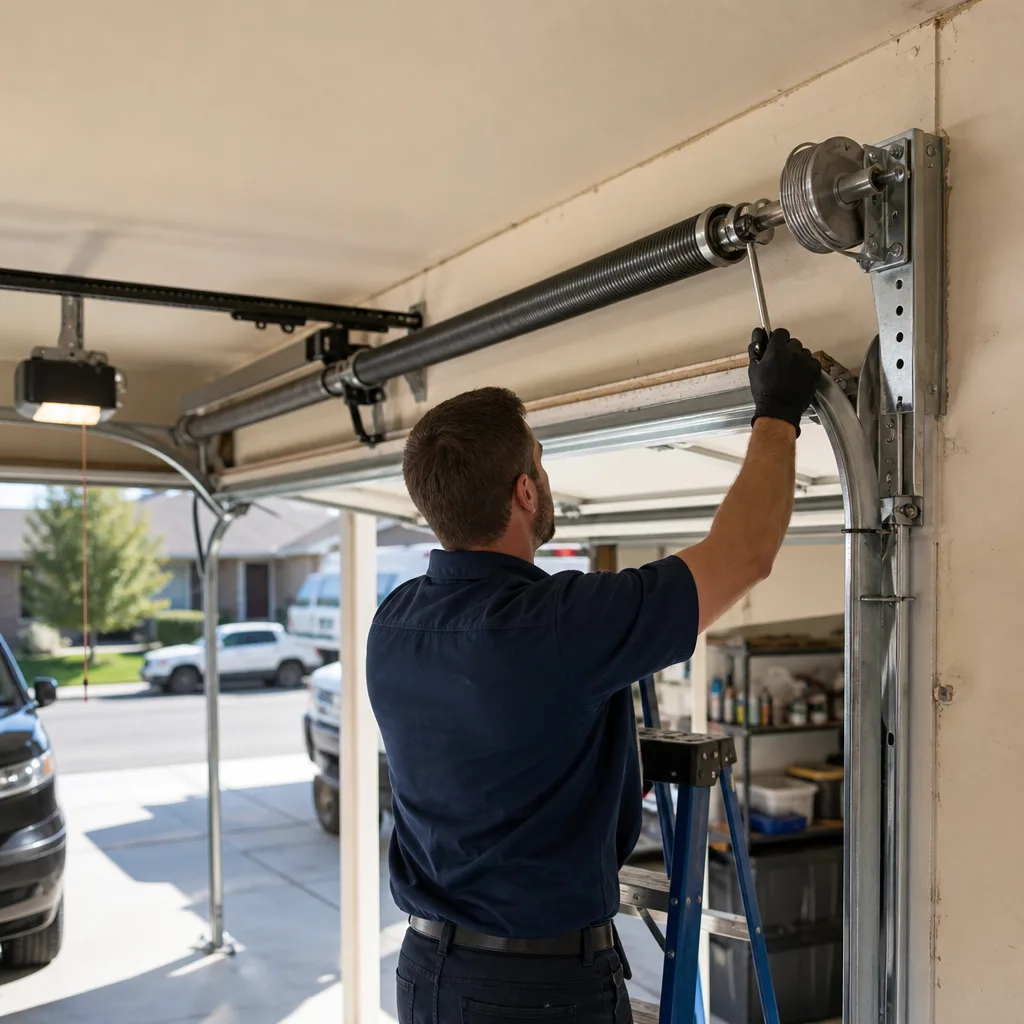 After
After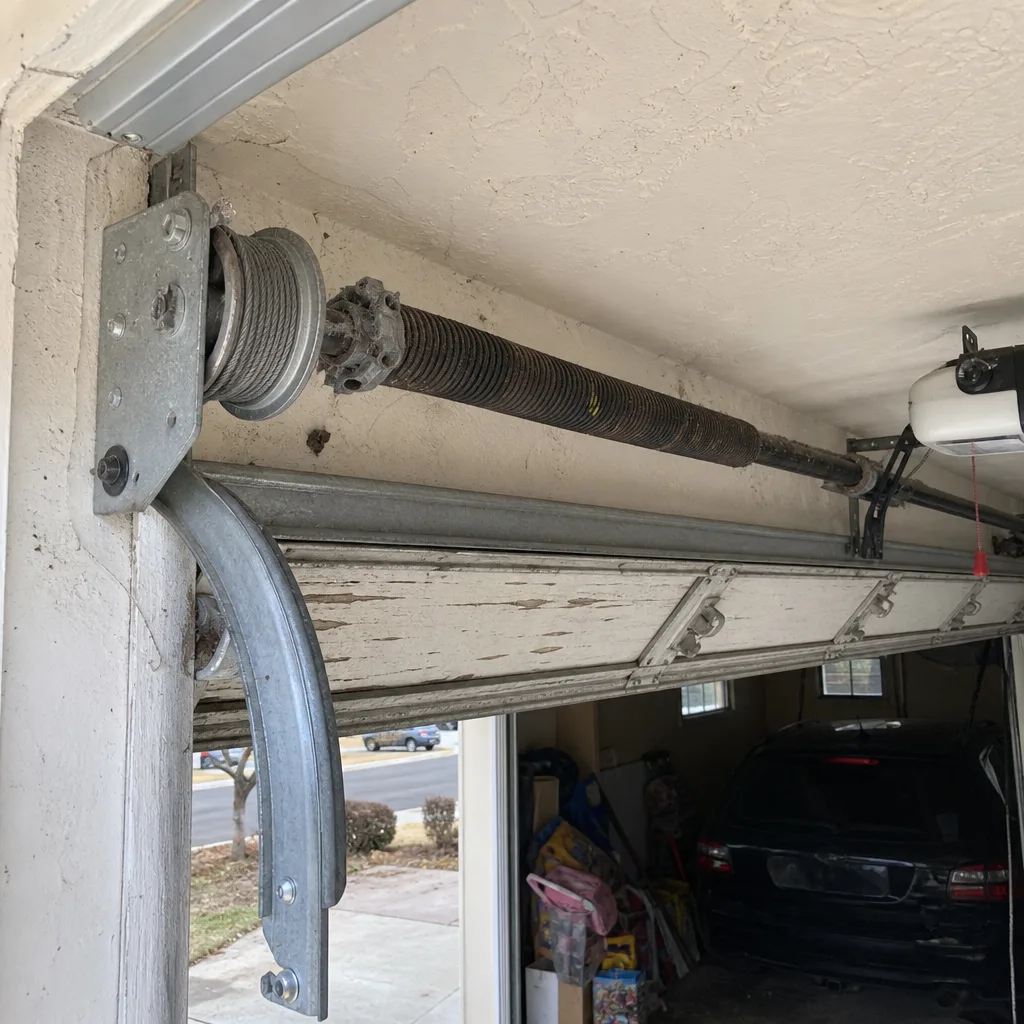 Before
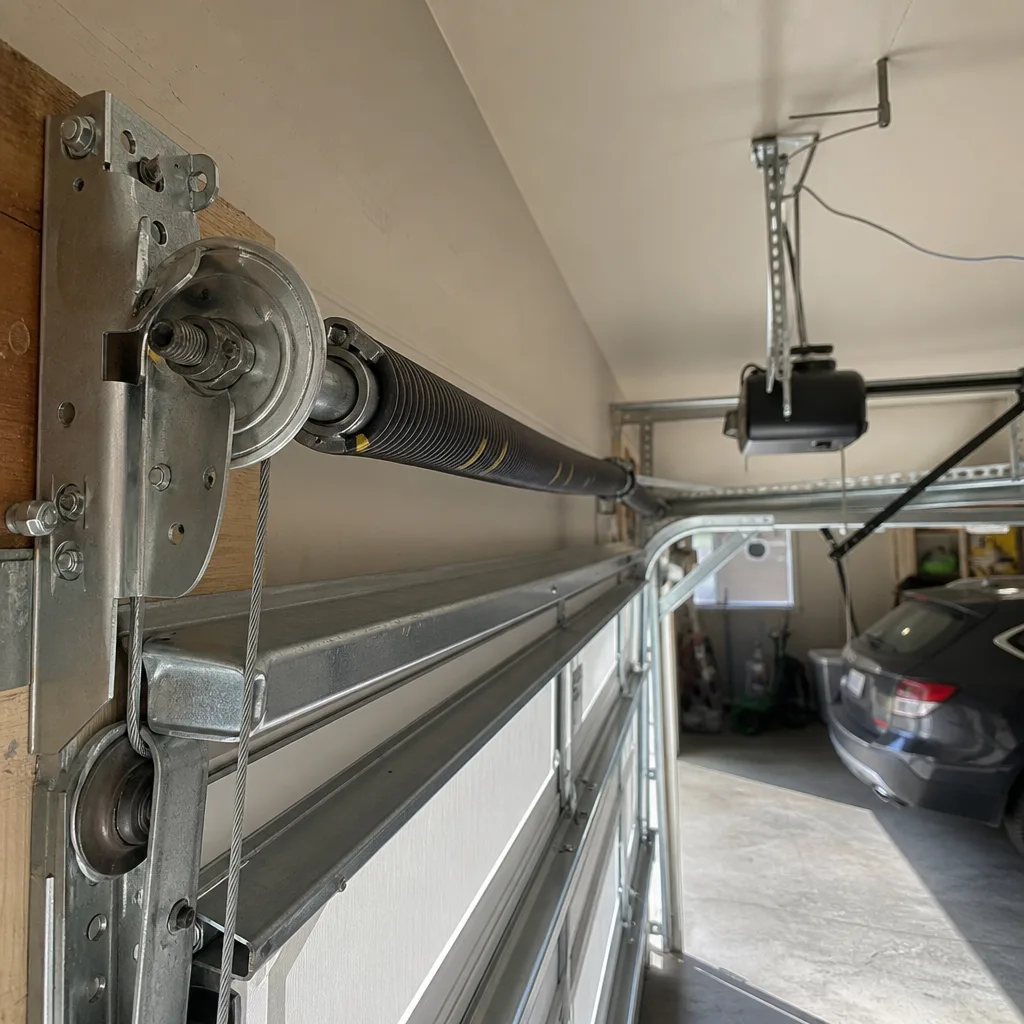 After
AfterDIY vs Professional Garage Door: The Aurora Homeowner’s Decision Guide
Torsion springs on a standard two-car garage door store roughly 100 foot-pounds of torque when fully wound. The relevant question isn’t whether you’re handy with tools. It’s whether your garage has the clearance for a winding bar to slip without hitting a wall, because that geometry is what most DIY injuries involve. In Aurora, where many homes in Hoffman Heights and Original Aurora were built with single-car garages barely deep enough for modern vehicles, that clearance often doesn’t exist. This guide separates the tasks any homeowner can handle from the ones where the risk profile changes the calculus entirely, and shows you how to document your work so any future technician knows what they’re walking into.
Quick Answer
Most Aurora homeowners can safely handle weatherstripping, sensor alignment, lubrication, and manual release testing. Torsion spring repair, cable replacement, panel swaps on sectional doors, and opener logic board work should be left to professionals due to injury risk, warranty voiding, or insurance complications. The dividing line isn’t skill level. It’s whether a mistake can cause bodily harm or invalidate coverage.
Table of Contents
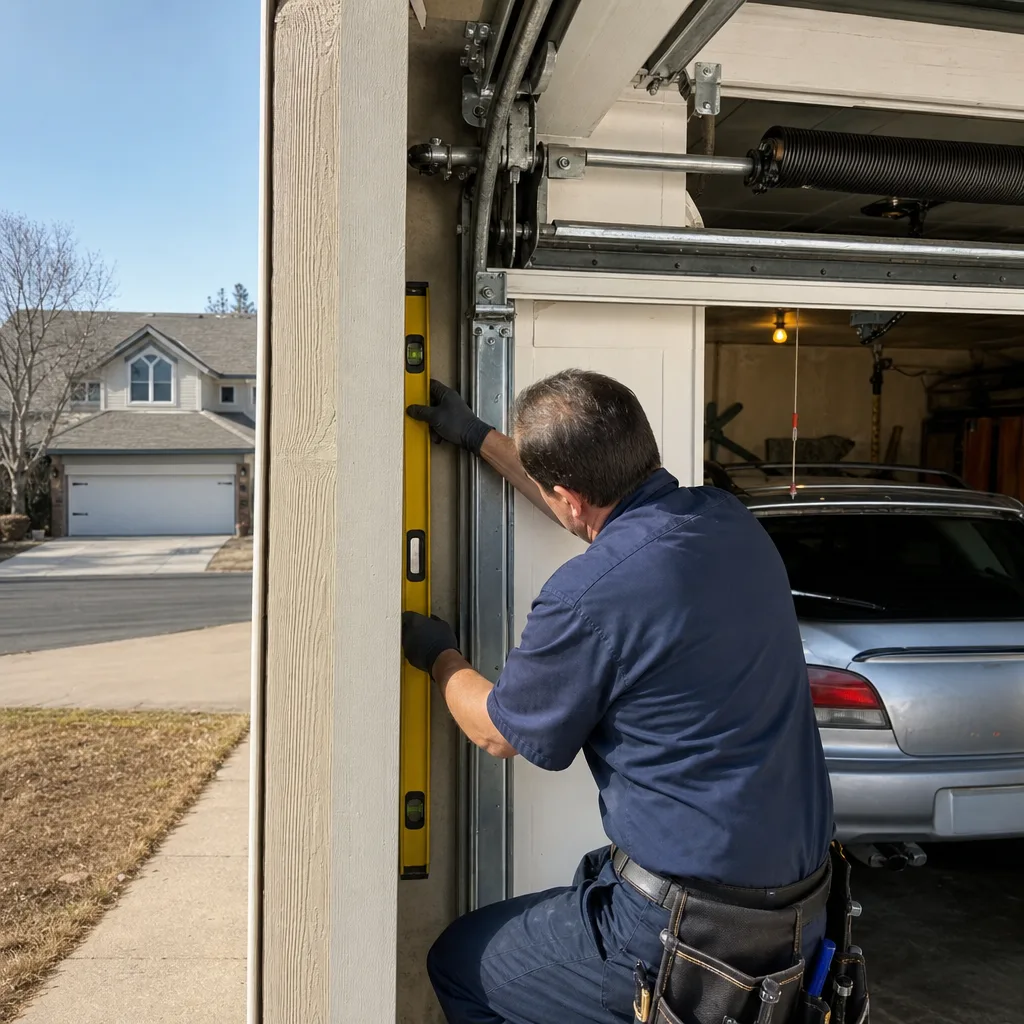
- Homeowner-Appropriate Tasks: What You Can Safely Handle
- High-Risk Repairs: The Tasks That Change the Calculus
- What Actually Happens When a Torsion Spring Winding Goes Wrong
- The Hidden Costs of DIY: Tools, Time, and Second Attempts
- How DIY Affects Your Warranty, Load Rating, and Insurance
- Why Documentation Matters Even for Simple Fixes
- Aurora-Specific Factors: Climate, Codes, and Common Configurations
- When to Call a Professional
BeforeAfterHomeowner-Appropriate Tasks: What You Can Safely Handle
These four categories of work involve no stored energy, no load-bearing components, and no interaction with electrical circuits beyond standard household voltage. They’re genuinely homeowner-appropriate regardless of your mechanical background.
1. Weatherstripping Replacement
The vinyl or rubber seal at the bottom of your door and the flexible stripping along the jambs deteriorates faster in Aurora than in milder climates. UV exposure at 5,280 feet accelerates cracking, and the freeze-thaw cycle from March through May separates adhesive-backed products from the frame.
Replacement is straightforward: measure the width of the door for the bottom seal, note whether it’s a T-style, bead-style, or bulb-style retainer, and match the profile. For jamb stripping, remove the old material, clean the surface with mineral spirits, and install new PVC or EPDM stripping with corrosion-resistant fasteners. A 16-foot replacement seal runs $15-$35 at Aurora hardware stores; the entire job takes 30 minutes with a drill and utility knife.
Document the date and product type. If water intrusion develops later, your insurer or a future buyer will want to know when the seal was refreshed.
2. Lubrication and Basic Maintenance
Every garage door manufacturer specifies annual lubrication of hinges, rollers, and the torsion spring itself. Use a lithium-based grease or silicone spray, never WD-40, which attracts dust and hardens into abrasive paste in Colorado’s dry climate.
The procedure:
- Close the door and disconnect the opener trolley.
- Apply a pea-sized amount of lithium grease to each hinge pivot point.
- Lightly coat the torsion spring coils - do not attempt to unwind or adjust the spring.
- Rollers with ball bearings get two drops of oil; nylon rollers get none.
- Run the door manually through two full cycles to distribute lubricant.
- Reconnect the trolley and test opener function.
Cost: $8-$12 for a can of proper lubricant. Time: 20 minutes. Risk: negligible if you don’t touch the spring hardware.
3. Safety Sensor Alignment and Testing
Photo-eye sensors sit 4-6 inches above the floor on both sides of the door. When misaligned, the opener reverses immediately or refuses to close. In Aurora, foundation settling in newer developments like Southlands and Tollgate Village knocks sensors out of alignment more often than in established neighborhoods with compacted soil.
Check the LED indicators on both sensors - they should glow steady, not flicker. Clean the lenses with a soft cloth, loosen the mounting brackets, adjust until both LEDs align, and tighten. Test by placing a 2×4 flat on the threshold; the door must reverse on contact. If it doesn’t, the force limit needs adjustment, which is where we recommend stopping and calling a technician.
4. Manual Release and Balance Testing
The red cord hanging from the opener trolley disconnects the door for manual operation. Test monthly: pull the cord, lift the door halfway, and release. A properly balanced door stays in place; a drifting door indicates spring tension problems. Do not attempt to correct spring tension yourself. Note the behavior, photograph the door position, and call for evaluation.
High-Risk Repairs: The Tasks That Change the Calculus
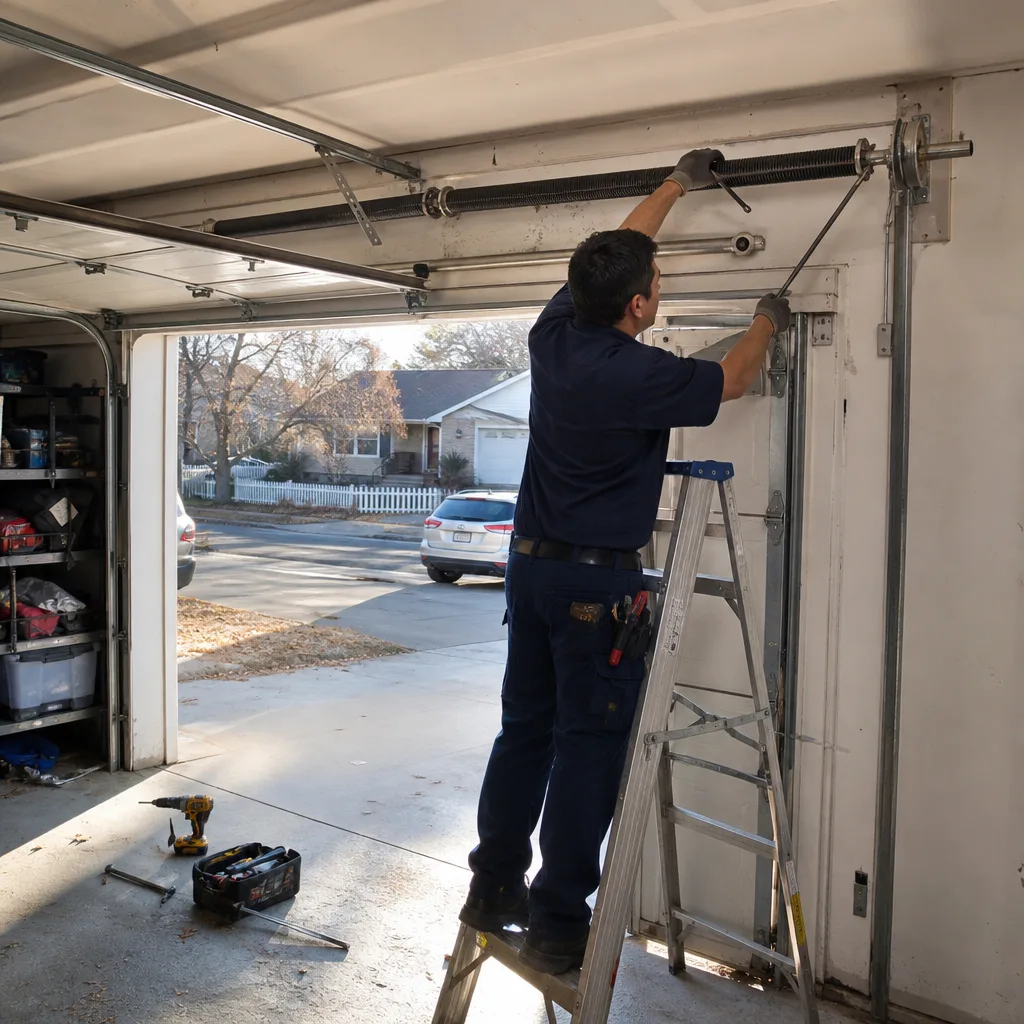
These repairs share one characteristic: a mistake doesn’t just mean calling a professional to finish the job. It means emergency room visits, structural damage, or coverage disputes that outlast the repair itself.
Torsion Spring Replacement
The torsion spring above your door is wound to counterbalance 150-250 pounds of door weight. Winding bars - solid steel bars inserted into the cogs of the winding cone - are the only safe tools. Socket extensions, screwdrivers, or pliers can slip, and when they do, the released torque spins the hardware at lethal velocity.
In Aurora’s tighter garages, particularly the 1950s ranches in Del Mar Parkway and the duplexes near Colfax and Peoria, a slipping winding bar often hits the side wall or a parked vehicle before the operator can clear the area. The injury pattern is predictable: facial fractures, hand amputations, and penetrating chest trauma from flying hardware. We’ve documented these failures in photo records brought to us by emergency room referrals.
Professional spring replacement in Aurora runs $180-$340 for a standard two-car door, including the spring, winding, and balance adjustment. The price is quoted in writing before work starts. Compare that to the $8,000-$15,000 average for hand surgery, or the deductible on a homeowner’s liability claim if a family member is injured.
Cable Replacement
The lift cables run from the bottom brackets to the cable drums at the spring shaft ends. When a cable frays or snaps, the door goes out of level and the remaining cable carries double load. Replacing a cable requires releasing spring tension first, which returns us to the torsion problem above. Even with the spring unwound, the bottom brackets are under residual load and can pull free if the door shifts.
Panel Replacement on Sectional Doors
A dented middle panel seems like a simple swap. But sectional doors are engineered as systems - the panels, hinges, track geometry, and spring torque are matched at the factory. Installing a non-OEM panel, or even the correct panel with improper hinge spacing, changes the load path and can cause the door to bind, jump track, or fail under wind load. Aurora’s building code requires wind-load-rated doors on all new construction; an improper panel swap can void that rating.
Opener Logic Board and Limit Switch Work
Modern openers from LiftMaster and Chamberlain use encoded logic boards that must be paired with specific travel modules. Incorrect replacement causes erratic travel, force calibration errors, and in some cases, fire risk from overheating drive motors. The work isn’t physically dangerous, but the troubleshooting sequence requires manufacturer-specific diagnostic tools that aren’t available to homeowners.
What Actually Happens When a Torsion Spring Winding Goes Wrong
Most safety warnings stop at “dangerous.” Here’s the specific mechanical sequence, because understanding the failure mode clarifies why preparation doesn’t eliminate the risk.
A standard torsion spring for a 16×7 steel door is wound 7.5-8.0 full turns, storing approximately 100 foot-pounds of torque. The winding cone has four ½-inch holes; winding bars are inserted in pairs, one to add tension, one to hold position. The operator leans into the bar to add torque, then shifts the holding bar to the next hole while the new bar takes the load.
The failure sequence when a bar slips:
- The unwinding cone rotates 90-180 degrees in under 0.2 seconds.
- The stored torque transfers instantly to the cable drums, which spin freely.
- The door drops uncontrolled, or the drum flails if the door is already down.
- The slipping bar becomes a projectile with angular momentum from the shaft rotation.
- In confined spaces, the bar strikes a wall, vehicle, or the operator before kinetic energy dissipates.
The “preparation” that YouTube videos emphasize - gloves, safety glasses, standing to the side - addresses none of this. The bar doesn’t travel in a predictable arc when the cone geometry fails. And cone failure is more common with homeowner-grade tools because the fit between bar and hole is looser than professional-grade solid steel bars.
We’ve photographed the aftermath for our documented photo records: bent winding cones where the holes elongated from repeated use, garage wall dents from ejected bars, and in one case from a repair call in Aurora’s Saddle Rock neighborhood, a 2-inch puncture in a drywall ceiling from a bar that traveled upward after slipping. The customer had watched three tutorial videos and owned a torque wrench. The geometry of his 20×20-foot garage didn’t allow safe clearance.
This is why we don’t recommend torsion spring work for any homeowner, regardless of mechanical skill. The risk isn’t knowledge deficit. It’s spatial geometry and stored energy physics that no amount of preparation controls.
The Hidden Costs of DIY: Tools, Time, and Second Attempts
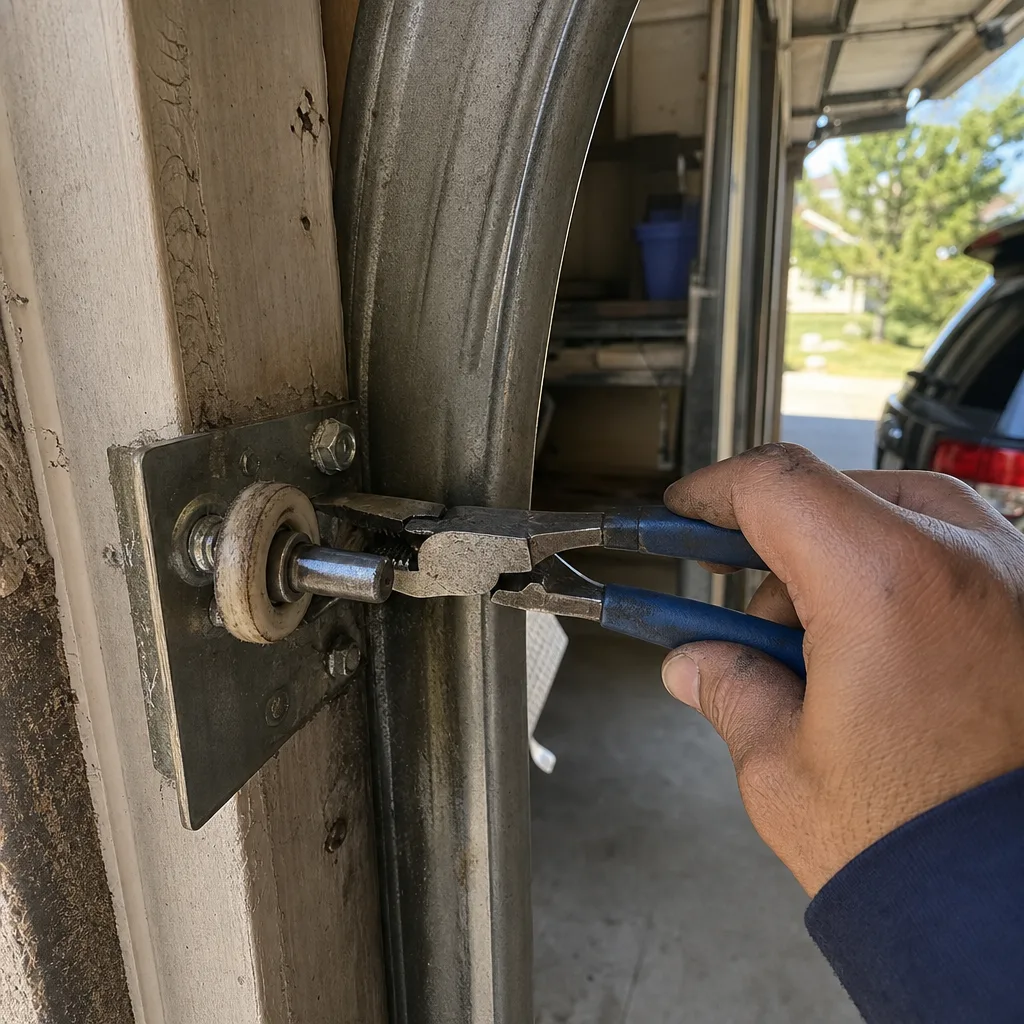
The face-value comparison - $40 in parts versus $250 professional repair - ignores several cost layers that appear only after you’ve started.
Specialty Tools You’ll Need Once
| Tool | Purpose | Cost | Professional Alternative |
|---|---|---|---|
| Solid steel winding bars (pair) | Torsion spring winding (if attempting) | $35-$60 | Included in service |
| Cable drum winding tool | Cable tension equalization | $45-$80 | Included in service |
| Spring winding cone wrench | Cone adjustment on specific brands | $25-$40 | Included in service |
| Door balance scale | Accurate spring tension verification | $30-$50 | Included in service |
| Multimeter with amp clamp | Opener motor and circuit diagnosis | $60-$120 | Included in service |
For homeowner-appropriate tasks, you need none of these. For high-risk repairs, buying them costs more than professional service and doesn’t reduce injury risk.
Second-Attempt Parts
DIY spring replacement often requires two springs: the first one incorrectly specified or improperly wound, then the correct replacement. Spring specifications depend on door weight, track radius, drum type, and cycle life rating. A common error is matching wire diameter and length while ignoring the inside diameter and wind direction. The spring fits, but the torque is wrong, and the door either feels heavy or over-travels.
We’ve documented this in our photo records: springs with paint marks from previous attempts, multiple sets of winding cone witness marks from repeated winding and unwinding, and doors with mismatched springs where a homeowner replaced one of a pair. The second-attempt cost often exceeds professional service from the start.
Time Value and Opportunity Cost
A professional spring replacement takes 45-90 minutes, including travel, diagnosis, and cleanup. A first-time DIY attempt typically spans 4-8 hours across two days, including research, parts sourcing, and the learning curve. At Colorado’s median hourly wage, that time has a dollar value that professional service often undercuts.
The Documentation Gap
Professional repair includes a written scope, flat price, and documented photo record per Clause 4 of The Haven Standard. DIY repair generates no documentation. If the door fails again, the next technician starts from zero knowledge. If you sell the home, the buyer’s inspector notes unprofessional work. The hidden cost is information asymmetry that reduces your leverage in future transactions.
How DIY Affects Your Warranty, Load Rating, and Insurance
This is the category of risk that homeowners discover only after a failure, when coverage is already denied.
Manufacturer Warranty Voiding
Wayne Dalton, Clopay, Amarr, and Raynor all specify professional installation for warranty coverage. The language varies - “qualified installer,” “licensed contractor,” “factory-authorized technician” - but the effect is identical. A homeowner-replaced panel, self-installed spring, or DIY opener modification voids the structural warranty on the entire door system, not just the component replaced.
For doors less than 10 years old, this matters. A typical Clopay or Wayne Dalton door in Aurora carries a 10-year or lifetime limited warranty on sections and hardware. Voiding it for a $200 DIY repair means absorbing the full replacement cost if a manufacturing defect appears later.
Load Rating and Wind Compliance
Aurora adopted the 2018 International Residential Code with local amendments requiring wind-load-rated garage doors on all new construction and replacement installations. The rating depends on track geometry, reinforcement struts, and panel interlock design. A DIY panel swap that changes weight distribution or hinge spacing can reduce the effective wind rating below code without visible symptoms.
If wind damage occurs and your insurer discovers non-compliant installation, coverage for the door and any consequential damage - vehicle impact, structural breach, contents loss - may be reduced or denied. The documentation burden shifts to you to prove the installation met code.
Homeowner’s Insurance and Liability
Standard HO-3 policies cover garage door damage from named perils but exclude “faulty workmanship” without defining the term. Some insurers interpret any unlicensed work as faulty; others apply a reasonableness standard. The ambiguity alone creates claims friction.
More critically, if your DIY repair injures a family member or visitor, your liability coverage may be contested. Insurers have successfully denied claims where the homeowner performed work that state licensing requirements reserve for contractors. Colorado does not license garage door technicians specifically, but Denver-Aurora jurisdictions require contractor licensing for structural modifications. A spring replacement on a load-bearing system arguably qualifies.
Professional repair from a state-licensed, insured contractor generates a paper trail that insulates you from these disputes. The written scope and photo record become evidence of due diligence if questions arise.
Why Documentation Matters Even for Simple Fixes
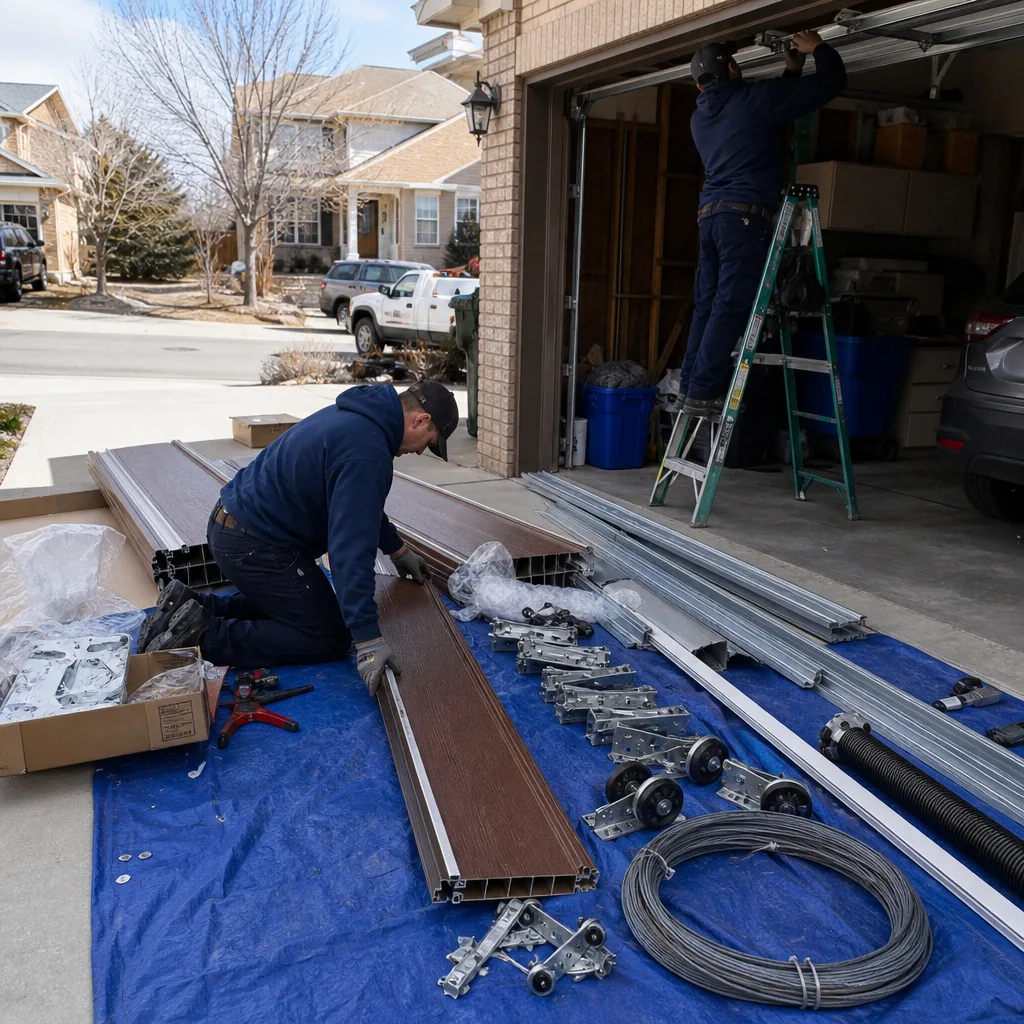
Whether you DIY or hire out, photograph everything. Date-stamp the images. Store them with your home records. This practice changes every future conversation about your garage door.
What to Document
- The door’s interior face, showing panel condition, strut placement, and any manufacturer stickers with model and serial numbers.
- The torsion spring assembly, including wire diameter stamps, winding cone orientation, and spring color codes.
- The opener rail, motor unit, and any logic board part numbers visible without disassembly.
- Before and after images of any work performed, with dates.
- Product labels for weatherstripping, lubricants, or replacement parts used.
Why This Changes the Service Call
When a Servo technician arrives for a repair call in Aurora, the first 15 minutes are typically discovery: identifying the door model, spring specifications, and previous work history. A homeowner with dated photos compresses this to 2 minutes. The technician verifies rather than searches. The quote is faster, and the scope is more precise because assumptions are reduced.
For DIY work, documentation protects you if a subsequent professional repair fails. You can demonstrate that the lubricant used was manufacturer-specified, the weatherstripping was correctly profiled, or the sensor alignment was within tolerance. Without documentation, you’re presumed ignorant and liable.
Clause 4 of The Haven Standard exists because we built this company on the rule that the customer sees the failed part before anyone quotes a replacement. The photo record we deliver extends that principle to the completed work. We recommend homeowners adopt the same discipline for their own maintenance. The standard of evidence should be mutual.
Aurora-Specific Factors: Climate, Codes, and Common Configurations
Aurora’s environment and housing stock create conditions that modify the standard DIY-vs-professional calculus.
Climate and Material Stress
At 5,280 feet with 240+ days of annual sunshine, UV degradation runs faster than at sea level. Vinyl weatherstripping becomes brittle in 3-4 years rather than 5-7. Lithium grease dries and cakes in low humidity. Steel doors thermal-cycle aggressively: 70°F daytime swings from April through October expand and contract panels, stressing hinge points and track fasteners.
These factors increase maintenance frequency but don’t change the task classification. Weatherstripping and lubrication remain homeowner-appropriate; they just need doing more often. What changes is the failure mode: UV-brittled springs fail more suddenly, with less warning sag or noise, making the “I’ll watch it and call when it gets worse” strategy less viable.
Soil and Foundation Movement
Aurora’s expansive clay soils, particularly in newer developments where fill hasn’t fully compacted, cause more foundation movement than Denver’s older, denser neighborhoods. Saddle Rock, Southlands, and Tollgate Village see frequent door frame shifting that binds tracks and stresses horizontal tracks.
Track realignment to compensate for foundation movement requires laser leveling and structural assessment. It’s not a homeowner task. But homeowners can document the symptoms - rub marks on track edges, uneven gaps between door and frame, opener strain noises - and provide this history to the technician. The documentation accelerates diagnosis and prevents the “adjust and return” cycle that frustrates homeowners in active-soil areas.
Common Door Configurations
Aurora’s housing stock spans 1950s ranches with 8-foot-wide single doors, 1980s-1990s subdivisions with standard 16×7 steel doors, and recent construction with insulated sandwich doors and LiftMaster or Craftsman openers with MyQ connectivity. The DIY complexity varies enormously.
Older single doors often have extension spring systems rather than torsion springs. Extension springs are somewhat less dangerous to the homeowner because the stored energy is distributed along the horizontal track, but they’re more complex to balance and more prone to sudden failure. We see more extension spring systems in Del Mar Parkway and Hoffman Heights than in newer areas. The appropriate response is the same: professional service, documented with photo record.
Permit Requirements
Aurora requires permits for garage door replacement but not for repair of existing components. A homeowner replacing an entire door system must pull a permit and schedule inspection; a technician doing the same work includes permit handling in the scope. For repair work, no permit is required regardless of who performs it, but code compliance for wind rating and safety device function remains the homeowner’s responsibility.
When to Call a Professional
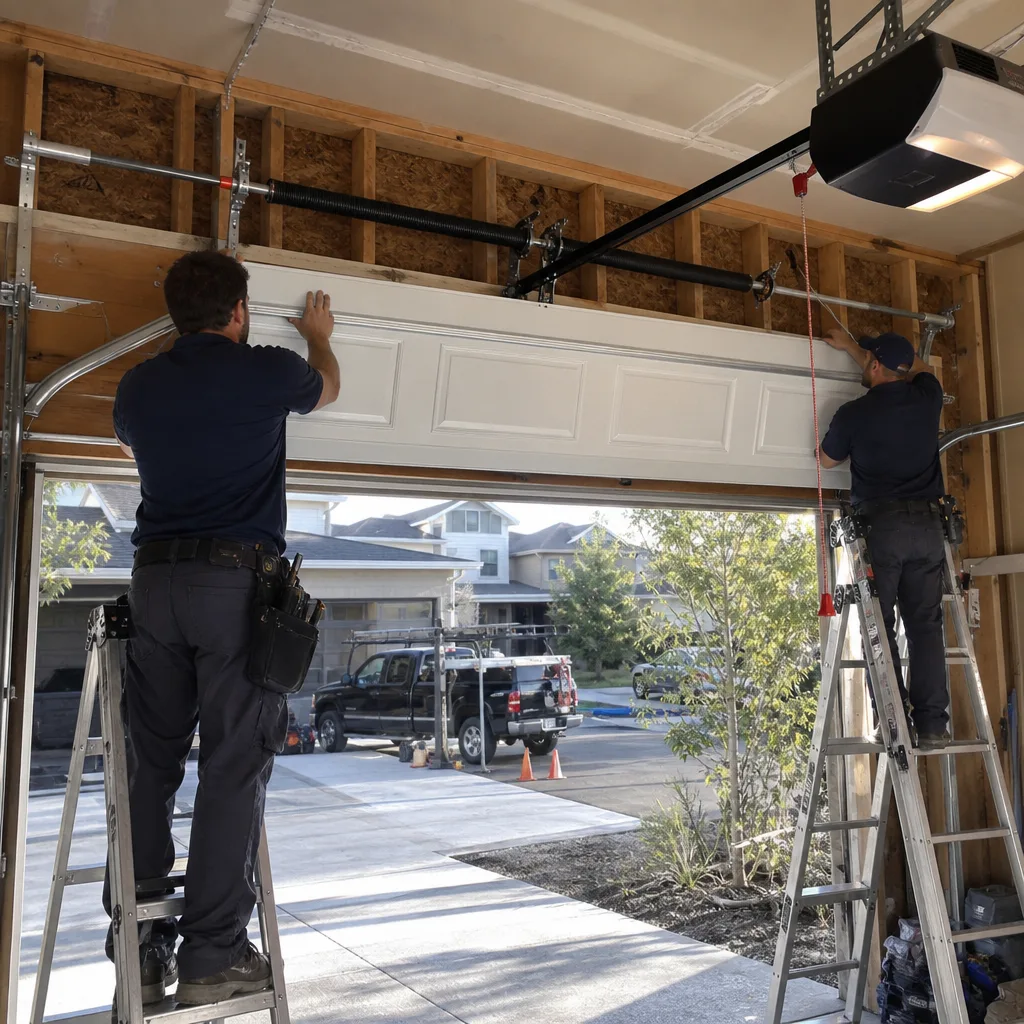
Call when the task involves stored mechanical energy, load-bearing structural components, electrical circuits beyond standard voltage, or any work that affects warranty or insurance coverage. Specifically: torsion or extension spring issues; cable fraying, binding, or detachment; panel damage on sectional doors; opener motor, logic board, or travel module problems; track bending, twisting, or separation from the wall; and any door that has jumped track or fallen out of level.
For Aurora homeowners who want certainty without commitment, Servo Garage Doors Aurora offers free estimates - a flat, written price and written scope delivered before any work starts, per Clause 1 of The Haven Standard. We also provide free second opinions on any competing written estimate; bring the paperwork, no coupon required. Every visit closes with a documented photo record of findings and completed work, tracing back to the founding rule that the customer sees the failed part before anyone quotes a replacement.
Call (720) 477-6050. A live person answers, 24 hours a day, including holidays. You’ll get a named technician and an on-the-way text, not a callback window.
Common Mistakes to Avoid
- Using the wrong lubricant on torsion springs. WD-40 and similar penetrating oils attract dust and harden into abrasive paste in Colorado’s dry climate, accelerating coil wear. Use lithium-based grease or manufacturer-specified silicone spray only.
- Ignoring spring color codes when sourcing replacements. Spring manufacturers use color paint marks to indicate wire gauge, length, and wind direction. A red-painted spring from one manufacturer is not interchangeable with a red spring from another. Mismatching causes immediate balance problems or dangerous over-torque.
- Replacing only one spring in a two-spring system. Matched spring pairs fatigue together. Installing one new spring with one worn spring creates unequal torque, stressing the door and opener. Both springs should be replaced simultaneously, documented with matching date codes.
- Adjusting opener force limits without testing safety reverse. After any force adjustment, the 2×4 reverse test is mandatory per federal safety standards. Skipping it creates entrapment risk, particularly for children and pets.
- DIY panel replacement with non-OEM parts from online marketplaces. Third-party panels rarely match the original gauge, insulation value, or hinge spacing. The door binds, loses wind rating, or fails to seal. In Aurora’s wind-exposed eastern developments, this has caused panel blowout during spring storms.
- Documenting nothing. Every homeowner maintenance task should generate dated photos. Without them, you have no evidence of proper care when warranty or insurance questions arise, and every future technician starts from ignorance.
- Calling for “a quote” rather than a written scope. Verbal estimates allow scope creep and surprise charges. Insist on a flat, written price for a defined scope before any work starts. This is not negotiation; it is standard practice.
Frequently Asked Questions
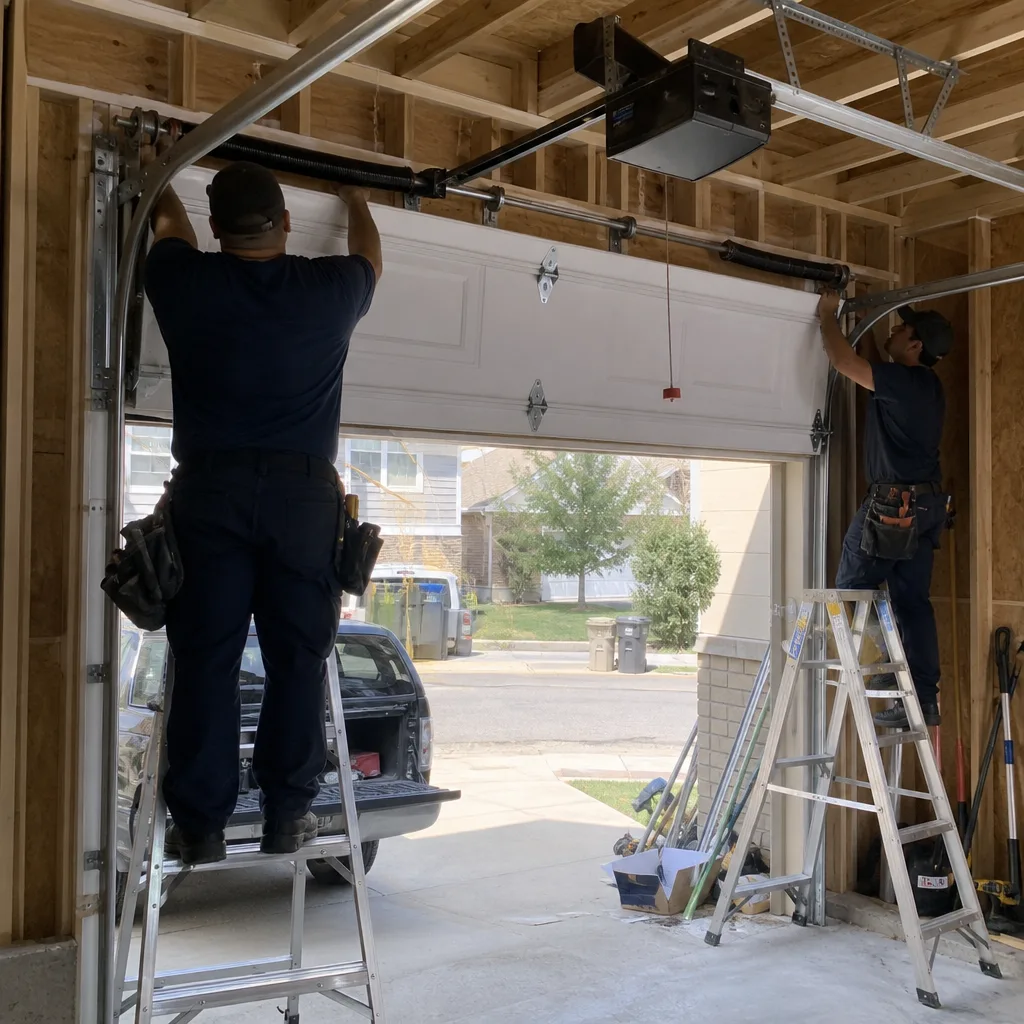
Professional torsion spring replacement in Aurora typically runs $180-$340 for a standard two-car door, including the spring, winding, balance adjustment, and safety testing. Extension spring systems range $150-$280. The price should be quoted in writing before any work starts, with no variance once the technician arrives. Call (720) 477-6050 for an exact quote - estimates are free.
You can remove and replace a bottom panel, but you shouldn’t. Bottom panels carry the load of all panels above them and interface with the cable attachment brackets under residual spring tension. More critically, non-OEM panels void the door’s structural warranty and may not match the original wind-load rating required by Aurora building code. Professional panel replacement includes verification of hinge spacing, strut alignment, and code compliance.
Weatherstripping replacement, hinge and roller lubrication with lithium grease, safety sensor cleaning and alignment, manual release testing, and visual inspection of springs and cables for rust or fraying. These tasks involve no stored energy, no load-bearing disassembly, and no electrical work beyond standard household voltage. Perform them twice yearly, in April and October, to match Aurora’s freeze-thaw and UV cycles.
It may. Standard policies exclude “faulty workmanship,” and some insurers interpret unlicensed structural work as falling within that exclusion. If your DIY repair causes injury or property damage, liability coverage may be contested. Professional repair from a licensed, insured contractor generates documentation that insulates you from these disputes. The written scope and photo record become evidence of due diligence.
Visible gaps in the coil, rust blooming on the wire surface, a door that feels heavier than usual, or a loud bang from the garage followed by a door that won’t lift. In Aurora’s dry climate, springs often fail suddenly with less warning sag than in humid regions because rust forms as surface pitting rather than visible flaking. If your springs are more than 7-10 years old, have them inspected professionally rather than waiting for failure.
Disconnect the opener trolley and do not operate the door manually. A snapped cable means the remaining cable carries double load, and the door is out of level. Attempting to lift it can cause the door to bind in the track or the bottom bracket to pull free. This is a professional repair due to the residual spring tension and the precision required for cable length equalization. Call for same-day service.
The Bottom Line
The DIY-vs-professional question for garage doors is not about whether you’re handy. It’s about whether the task involves stored energy, structural load, or coverage implications that no amount of skill eliminates. In Aurora’s specific climate and housing stock, maintenance tasks are genuinely homeowner-appropriate and should be performed regularly with full documentation. Repairs involving torsion springs, cables, panels, or opener electronics should be left to professionals who provide written scopes, flat prices, and documented photo records. The cost difference, when fully accounted, is narrower than it appears, and the downside risk is not comparable. For any repair you’re uncertain about, a free estimate with no obligation is the rational first step.
Written by Marcus Deller, Owner at Servo Garage Doors Aurora, serving Aurora since 2015.